

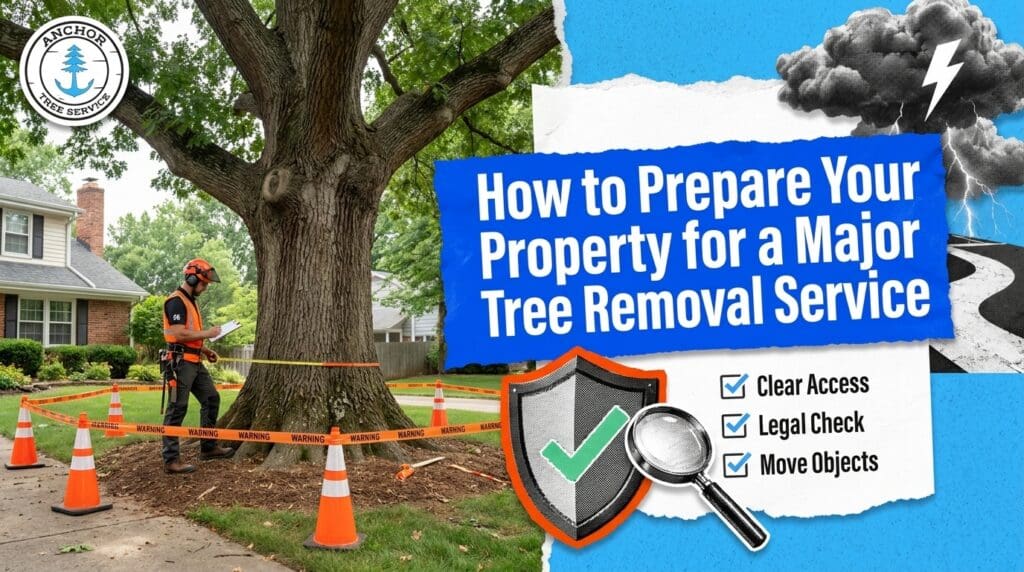
Before a major tree removal, the condition of the surrounding area often determines how quickly the crew can work and how well your landscape recovers. Taking a few practical steps ahead of time reduces delays, prevents accidental damage, and keeps everyone on site safer.
This guide walks through the essential preparation tasks we recommend to every property owner before a scheduled removal. From legal checks to final cleanup planning, each step helps the job unfold without surprises.
Assess the Tree and Legal Requirements
Evaluate Tree Health and Surrounding Risks
A tree that looks healthy from a distance can still have internal decay, root damage, or a lean that shifts its fall path. Before the work begins, we assess the tree’s overall condition and note any structural weaknesses. You can help by telling us about recent limb drop, fungus at the base, or soil cracks around the root zone. This information guides how we place rigging lines and where we direct the pieces as they come down.

Our pre-removal assessment looks for dead branches, trunk cracks, and signs of root heave. Knowing these problems early lets us plan a safer removal sequence and identify which parts of the yard need to be cleared.
Confirm Permits and Bylaw Compliance
Many areas protect certain tree species or require a permit for removing trees above a set diameter. Before any cutting begins, check with your local planning or parks department to confirm whether the tree is protected, whether a permit is needed, and what conditions apply. Even if you own the property, a municipal bylaw may still override your right to remove without approval.
We can often help you understand the application requirements, but the final permit must come from the appropriate local authority. Starting this step early prevents scheduling conflicts later.
Prepare the Immediate Work Zone
Clear Obstacles and Debris
Anything left inside the work radius becomes a hazard or gets damaged. Move patio furniture, planters, children’s toys, hoses, and decorative items at least 20 feet away from the tree’s base. Clear fallen branches, rocks, and garden tools from the ground so the crew can move freely and safely.

Protect Landscaping and Structures
Even with careful lowering, some impact on the ground is unavoidable. Lay sheets of plywood over flower beds, shrubs, or irrigation heads that cannot be moved. Cover fragile plants with burlap, and move hanging baskets or lightweight pots away from the drop zone. For windows facing the tree, consider closing curtains or temporarily shielding glass to reduce the chance of scratches from flying debris.
Ensure Equipment Access and Parking
The crew will need a clear path from the street to the tree. Unlock side gates, open wide double gates if available, and remove any low-hanging branches that might scrape a truck or chipper. Designate a parking spot for the removal vehicle and any support equipment, and let your neighbors know if the crew will briefly block part of a shared driveway.
Coordinate with Neighbors and Utilities
Inform Neighbors of Scheduled Work
Tree removal is loud, and it often happens early in the morning. A quick note or a knock on the door the day before goes a long way. Let neighbors know the expected time window, which side of the property the crew will work on, and how long the noise may continue. If the tree overhangs a shared fence, mention that branches may briefly cross the property line but will be cleaned up immediately.
Arrange for Utility Line Protection
If the tree is within 10 feet of an overhead line, the utility company may need to de-energize or shield the line before work begins. Contact your local utility locate service to mark underground lines for water, gas, and electricity. Never assume the crew can work around a live line—this coordination should happen at least a few days in advance.

Plan for Cleanup and Site Restoration
Decide on Debris Disposal Methods
Before the removal, agree on how the wood and brush will be handled. We typically chip smaller branches on site and haul larger rounds away unless you request them left for firewood. If you want to keep some wood, let us know in advance so we can cut it to usable lengths and stack it neatly near the driveway.
Because our crew includes an ISA Certified Arborist with Tree Risk Assessment Qualification, we can estimate very accurately how much wood and brush will come off a tree before the first cut. That lets us plan disposal options with you ahead of time, so there are no surprises about what stays and what gets hauled away.
Schedule Stump Removal and Ground Restoration
The main trunk removal leaves behind a stump and a network of roots. Decide whether you want the stump ground down to below soil level or left in place as a natural feature. If grinding is planned, schedule it for the same day or shortly after to avoid a second mobilization. Once the stump is gone, the area will need fill soil, leveling, and reseeding or sodding to blend with the rest of the yard.
Choose Optimal Timing for Weather Conditions
Heavy rain, high winds, or frozen ground can turn a routine removal into a difficult one. Check the forecast for a stretch of dry weather, if possible, and avoid scheduling during a known storm season. Wind direction matters too—if the tree leans toward your house, the crew will need calm conditions to control each piece. We work in most weather, but a calm, dry window always makes the job cleaner and safer.
Prioritize Safety and Documentation
Implement Safety Protocols for Family and Pets
On the day of the removal, keep children and pets inside, preferably in a room away from the work zone. Close all exterior doors and windows to reduce noise and keep dust out. If you have an outdoor dog that normally roams, secure them in a garage or on a leash with a responsible adult until the crew has finished and the equipment is packed up.
Document Pre-Existing Conditions
Before the work starts, walk around the property with your phone and photograph the condition of fences, walkways, siding, and the ground near the tree. Note any cracks in pavement, loose railings, or existing lawn damage. This simple documentation protects both you and the crew if a question arises later about what was already there versus what occurred during the removal.

Final Preparation Checklist
Use this checklist the day before the removal to confirm nothing is missed:
- Permit approved and posted if required
- All obstacles cleared from the work radius
- Sensitive landscaping protected with plywood or burlap
- Access path open for trucks and chippers
- Neighbors informed of start time and duration
- Utility lines marked and overhead lines addressed
- Debris disposal plan agreed with the crew
- Children and pets secured inside
- Pre-removal photos taken for documentation
When all of these steps are complete, the removal team can focus entirely on executing the job safely and efficiently. If you have any remaining questions, contact us to review your specific site before the scheduled date.
Areas We Serve
Permits and access rules vary by location, and crews stage work differently across our patch. The area hubs below explain how we operate in your part of town, with local planning pointers, site access notes, and what to expect on the day.
- Central Saanich Arborists & Tree Services
- Colwood Arborists & Tree Services
- Esquimalt Arborists & Tree Services
- Highlands Arborists & Tree Services
- Langford Arborists & Tree Services
- North Saanich Arborists & Tree Services
- Oak Bay Arborists & Tree Services
- Saanich Arborists & Tree Services
- Sidney Arborists & Tree Services
- Victoria Arborists & Tree Services